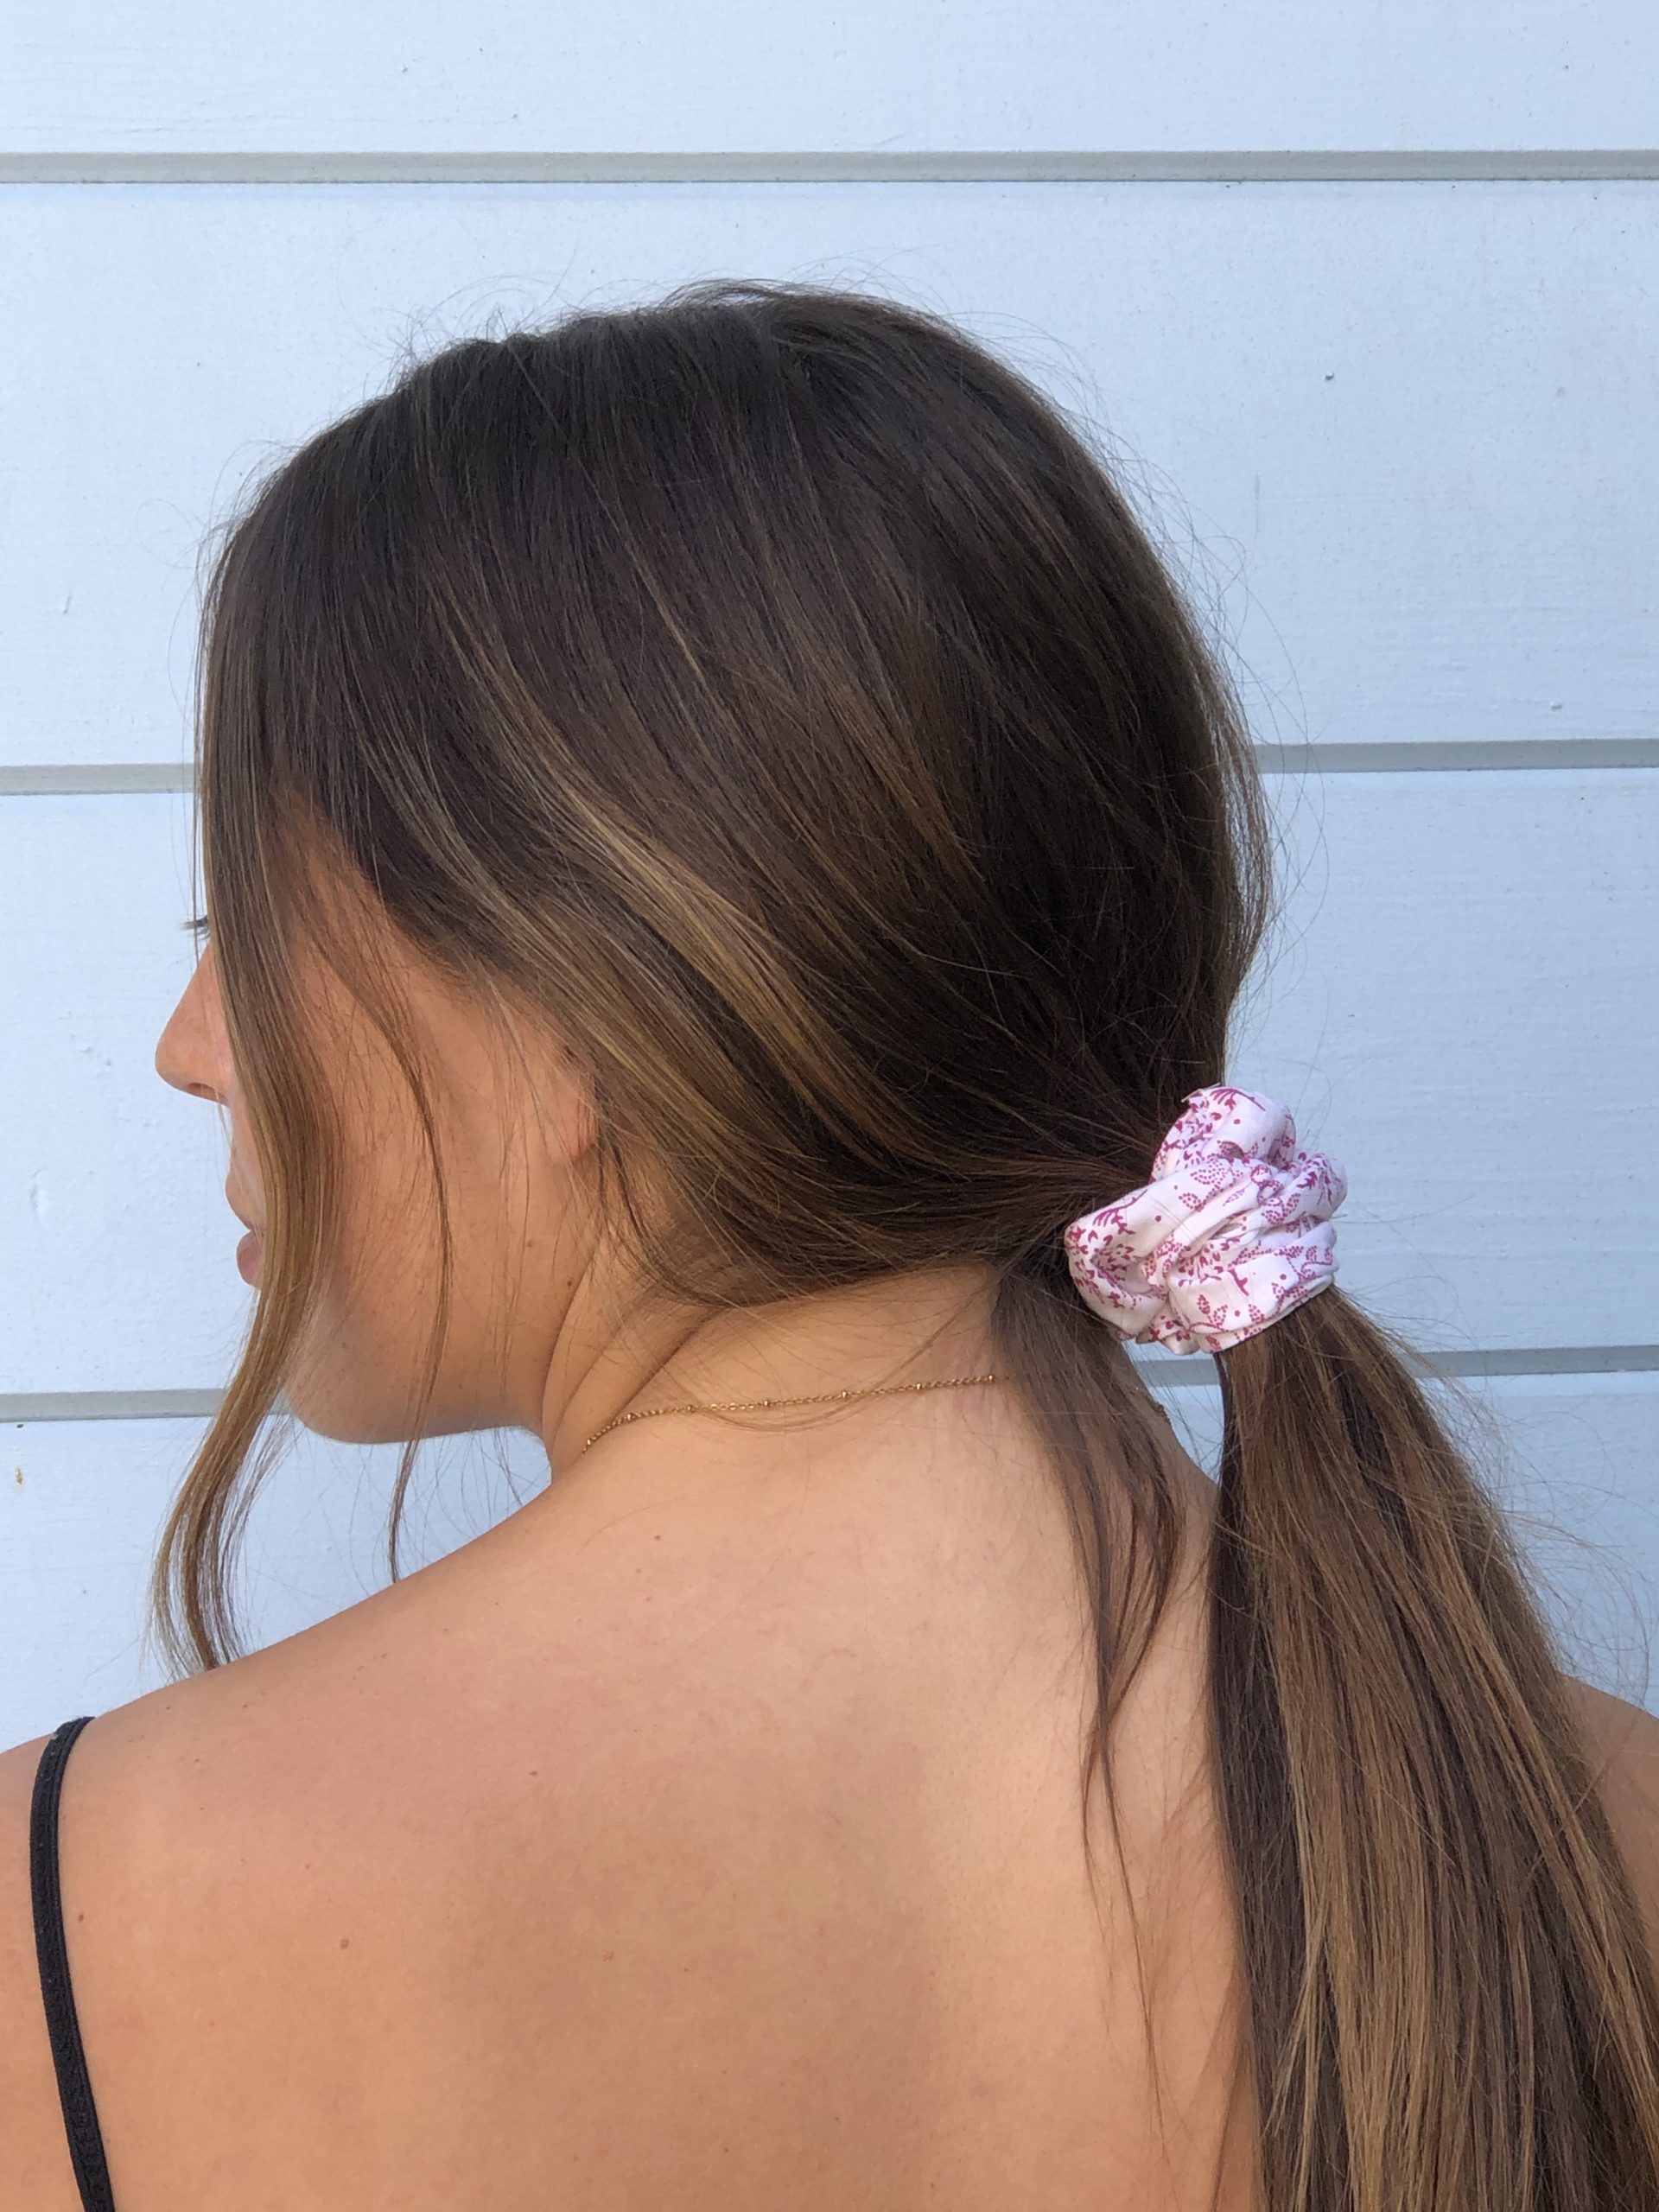
Tutorial: Scrunchie
Scrunchies and other 80’s style hallmarks have snuck their way back into 2020 trends. In the 80’s and 90’s, elastic hair ties – called “chouchous” in France or “scrunchies” in the USA – were very popular.
What’s great about scrunchies is you can switch them out everyday to complement your outfits, while wearing your hair in a bun, on the top of your head, in a low pony tail or in fun braids without damaging the hair.
The best part is that you need very little fabric to make a scrunchie yourself! Make your own scrunchie with my 9 easy steps below.
Step 1. Gather your material
- A rectangle band of fabric at least 20 inches long by 4 inches wide
- An elastic of 7 inches long
- 2 safety pins
- Some thread
- Some pins
- Sewing machine

Step 2. Cut the fabric
Cut the fabric into a rectangle measuring 20 inches by 4 inches.

Step 3. Fold the fabric
Fold the strip of fabric in half along the length, side of the fabric you want showing on your scrunchie should be folded on the inside.

Step 4. Sew the tube
Sew the fabric along the length of the “tube”, leaving both ends un-sewn and open.

Step 5. Invert your tube
Using a long stick or sewing needle, invert your tube by flipping the fabric inside-out. Now the side of the fabric that you want showing on your scrunchie should be on the outside.
Step 6. Scrunch the scrunchie
Put a safety pin on both ends of the elastic.

Pin one opened side of the fabric tube with one of the safety pins and pass the elastic through the fabric tube to the other side, scrunching the fabric while you do this.
Pin the other safety pin to the other opening so you do not lose it inside the tube – your elastic should be on the inside of the tube with both ends pinned by a safety pin.
Step 7. Sew side #1
Take out the safety pin on one end of the tube and sew that side including the elastic to secure it to the fabric.
Tip: Hand-sewing will help you achieve a more invisible seam, but the seam is not apparent when the scrunchie is in your hair, so it’s also fine to use a machine for this part.
Step 8. Sew side #2
Move onto the other side, this time leaving the hole open and just hand-sewing the elastic to the fabric. The elastic should now be sewn onto both sides, with one side fully sewn shut and the other still open.
Step 9. Connect the sides
Connect the two sides by slipping the sewn end of the scrunchie into the open end, overlapping the fabric so you can sew them together.
Et voila! You’re personalized, stylish scrunchie!


