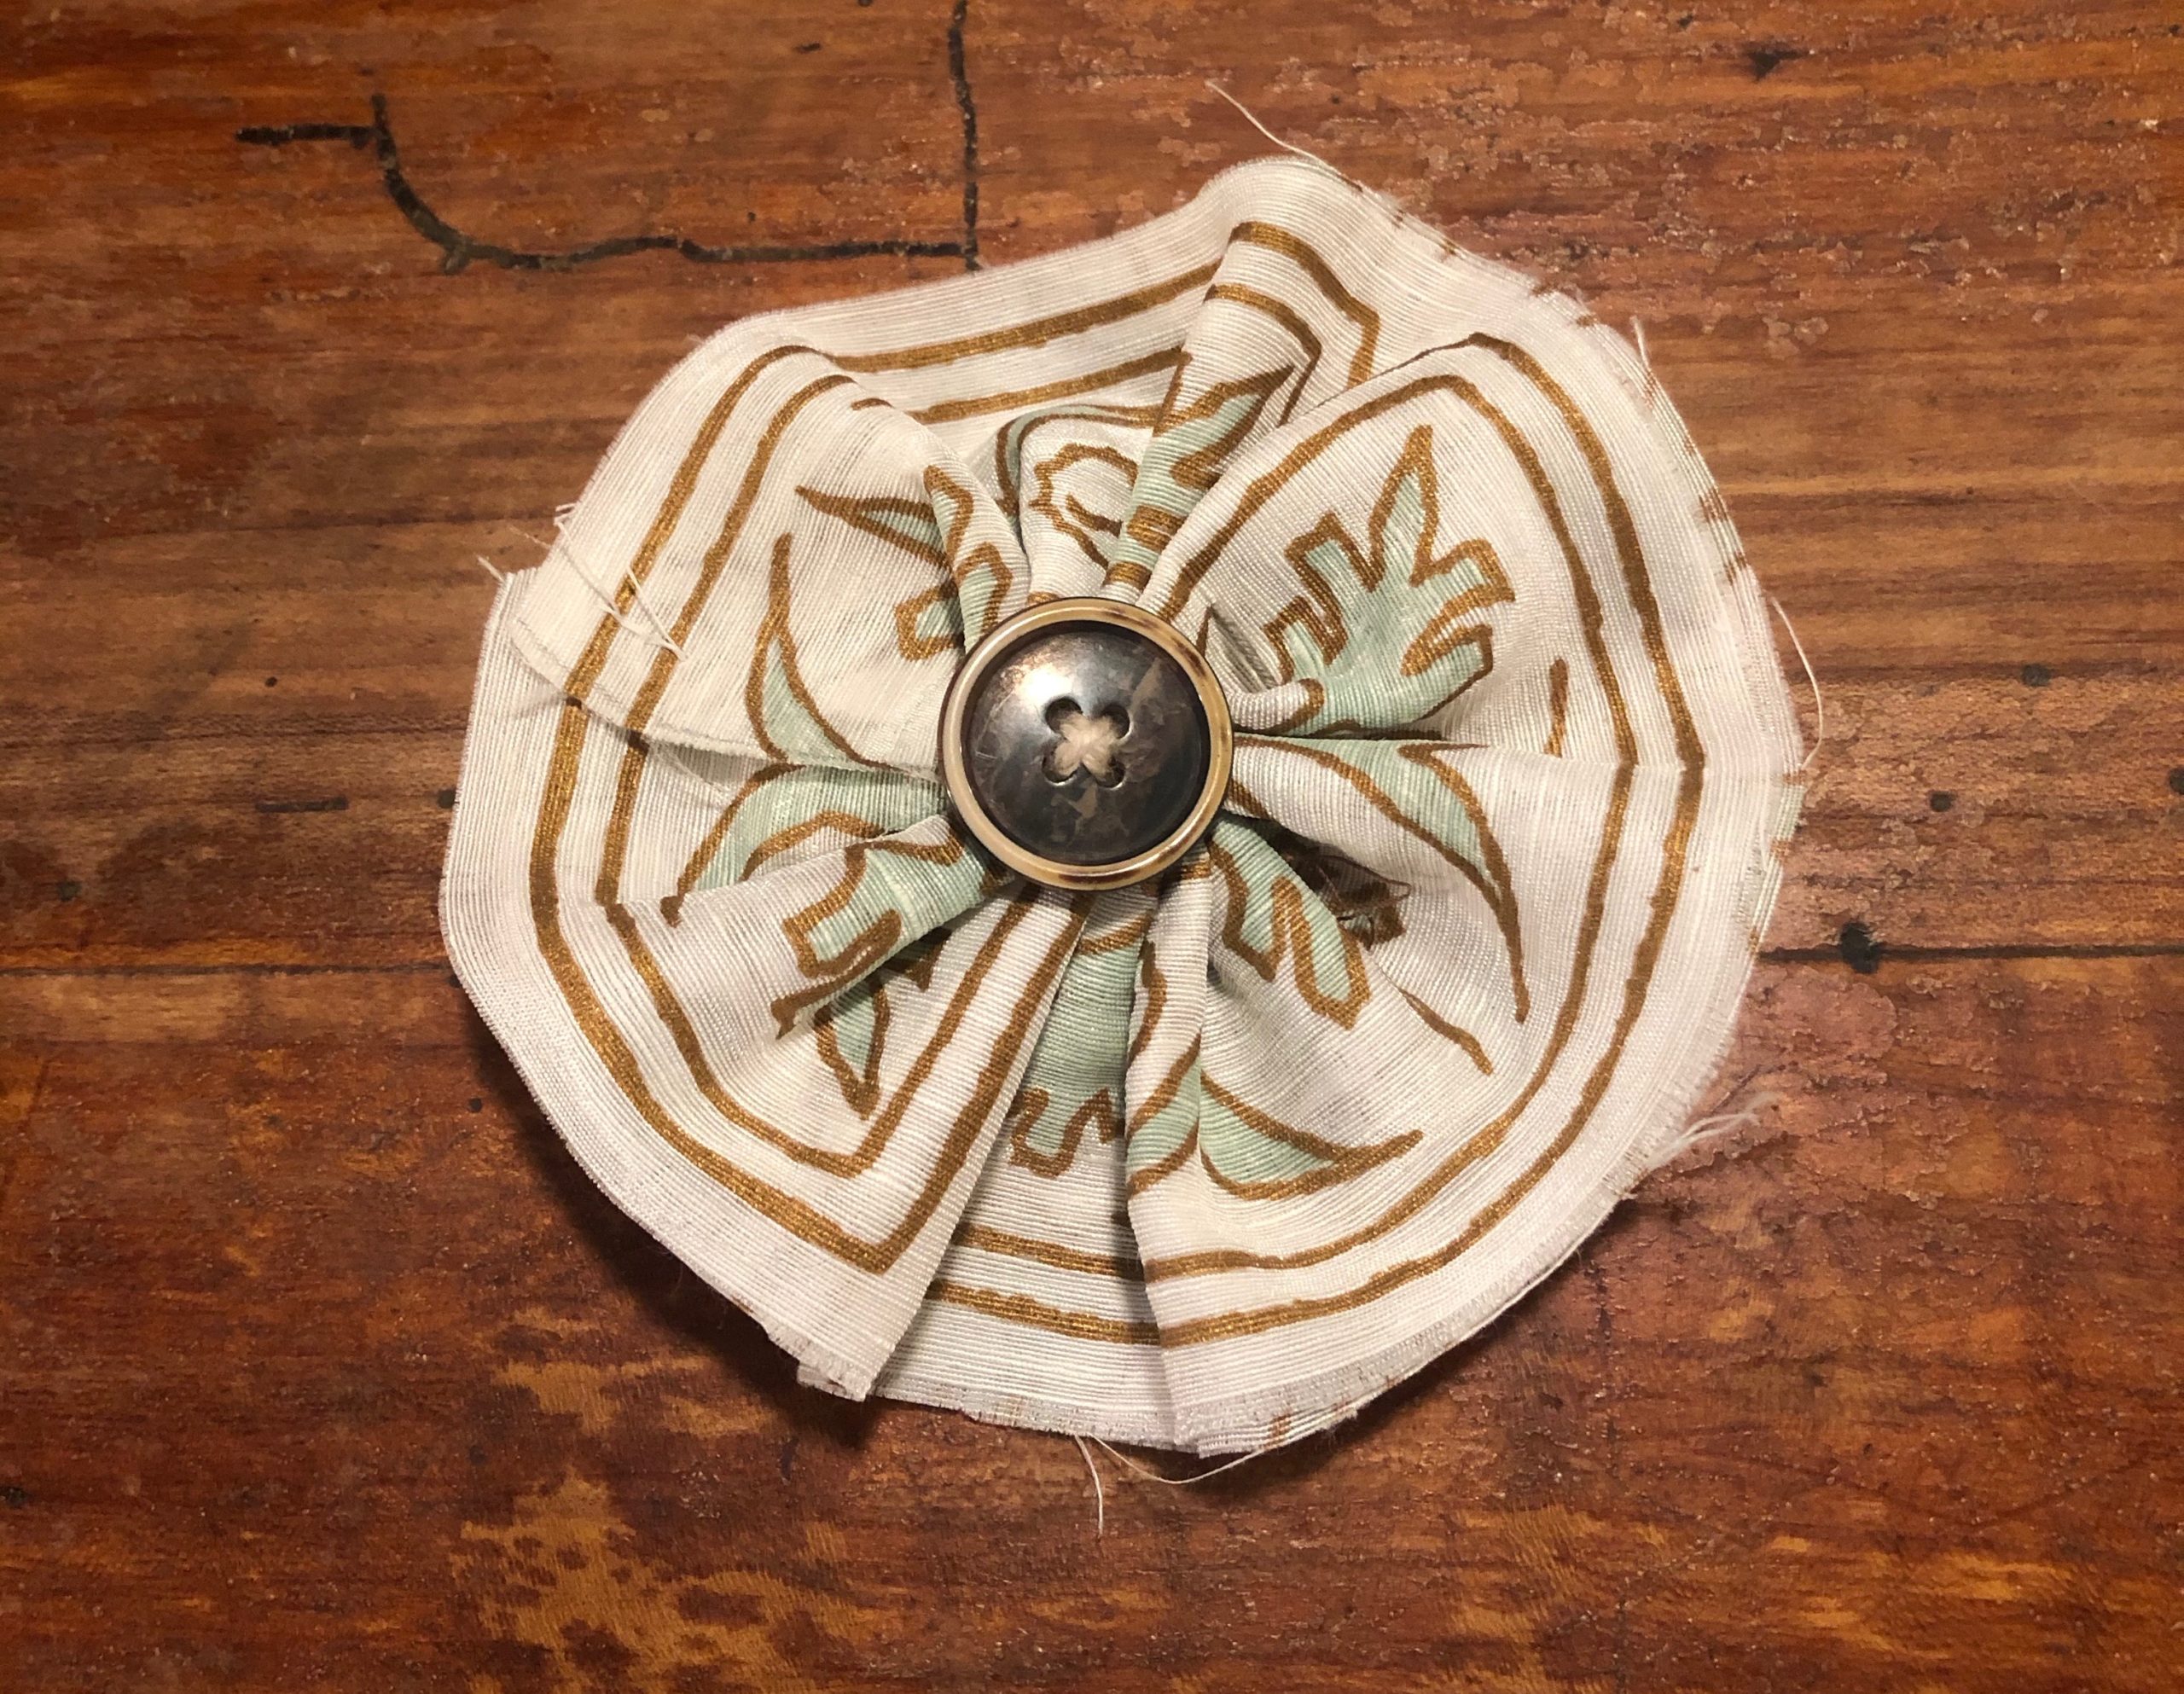
Tutorial: Fabric Flowers
For those of you who like to get creative with your leftover fabric, this project is perfect, as fabric flowers are easy to make and fun to get creative with.
Once made, these flowers can ornate a basket, decorate a summer bag, or accessorize a straw hat. You can use them for costumes, kids’ projects, or decoration in your own home!
Step 1. Gather your materials
- Lightweight cotton fabric or lightweight linen of your choice, making sure the fabric is around 14 inches by 3.5 inches minimum
- Some thicker thread or yard, any color of your choice
- A large needle for knitting
- Scissors
- Optional: some novelty buttons or beads to embellish to flower

Step 2. Cut the fabric
Cut the fabric into a rectangle measuring 14 inches by 3.5 inches.

Step 3. Fold the rectangle
Fold the rectangle in half along the length with the side of the fabric you want shown on the exterior.

Step 4. Sew
With your knitting needle, sew large stitches along the bottom fold of the rectangle, making sure the yarn remains sticking out on both sides.

Step 5. Scrunch
Scrunch the fabric by pulling the two sides towards each other along the yarn, creating a sort of fan.

Secure the fan by tying a double knot with both sides of the yarn.

Step 6. Create flower shape
Un-scrunch and redistribute the fabric to create a circular flower.

Secure the two ends of the flower together by overlapping the ends and sewing a few points – hand-stitched or by machine both work.

Step 7. (Optional) Embellish
Embellish your flower by sewing a bead or button into the middle.

Et voila! Beautiful fabric flowers 🙂


