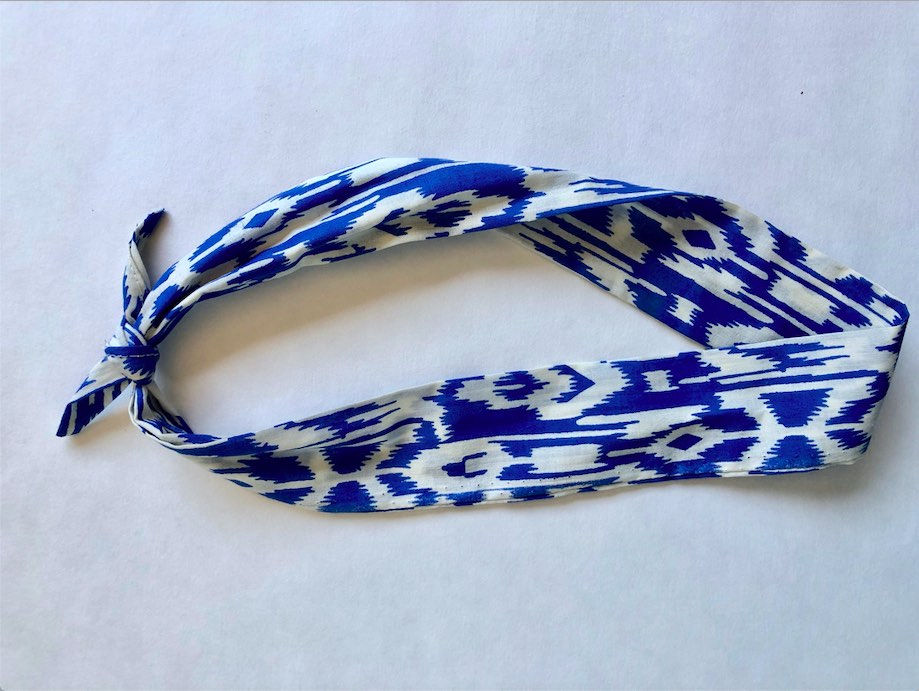
Tutorial: Headband
I think that headbands are an undervalued accessory! Whether you’re going for a classic french look or trying for boho chic, they help add flare and funk to any style.
Headbands are actually very simple to make and require little materials – just follow my 6 easy steps below to create your own!
Step 1. Gather your material
You’ll need:
- Cotton fabric with any print or pattern of your choice, at least 30 inches long and 4 inches wide. (If you want your headband to have extra long ends to tie, cut the fabric a bit longer)
- Scissors
- Pins
- Thread

Step 2: Cut the fabric
Measure and cut the fabric following this shape and measurements
_

Step 3. Pin the shape
Fold the shape in half the along the length of the fabric. The side you want shown on your headband should be folded on the inside, then pin the shape.

Step 4. Sew
Sew your shape with a sewing machine, leaving one side open at least 2 inches so you can invert your shape in the next step.
_
Step 5. Invert your headband
Here, you need to turn your headband inside-out, using a long stick or knitting needle to help push the fabric through.
_
Step 6. Sew final opening
Hand sew the final opening of the headband, and iron the fabric if it’s been crinkled in the process.
Et voila! You have a unique, perfectly stylish headband that you created yourself!


